
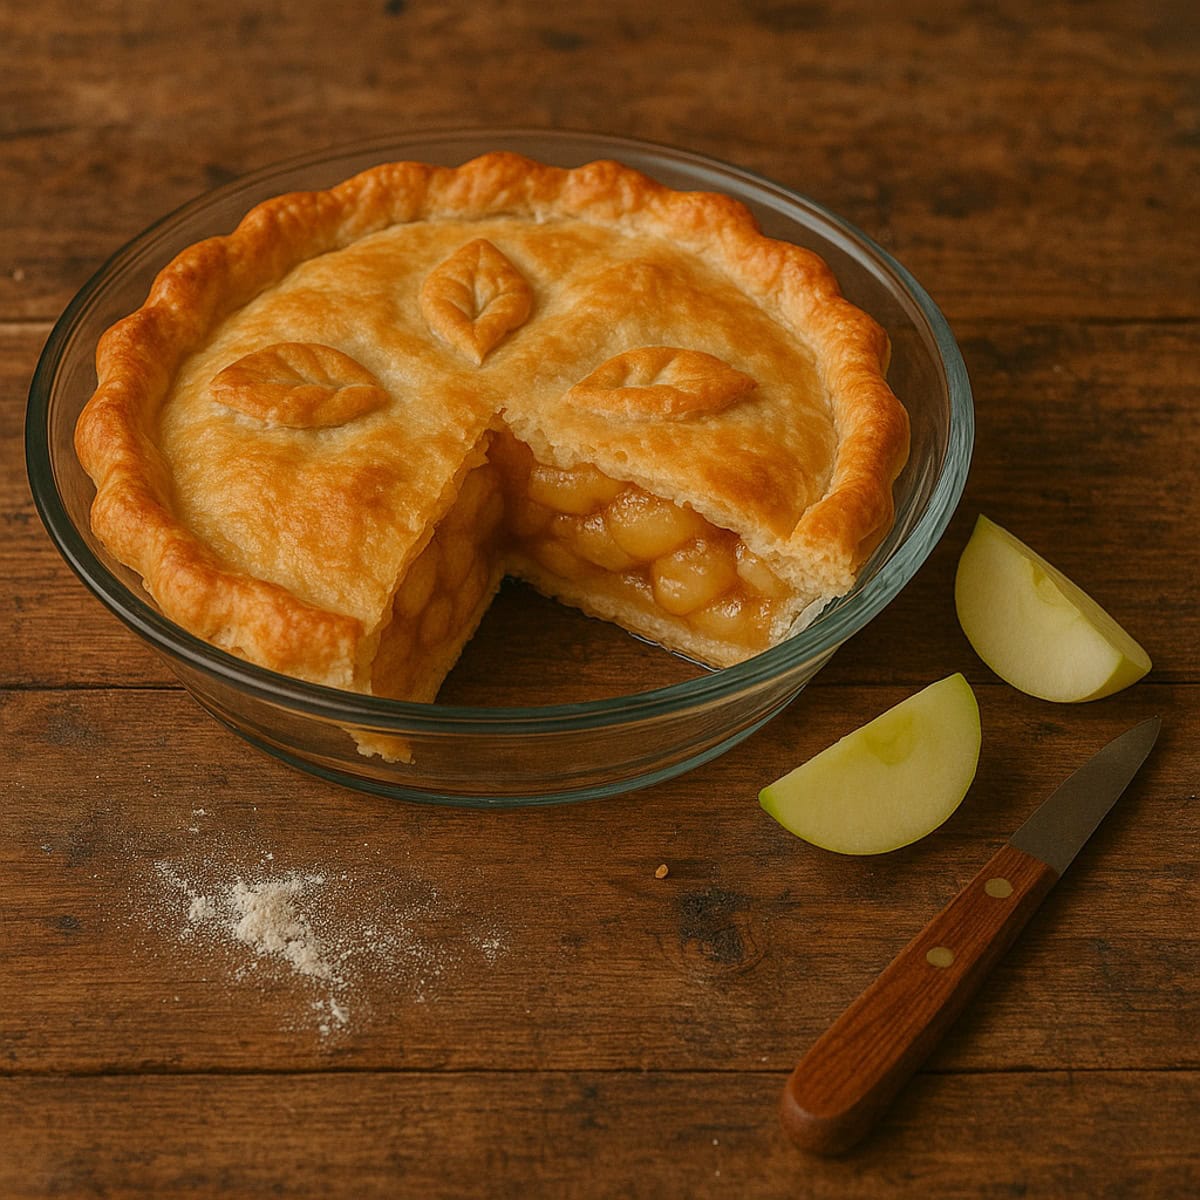
Pie dough is where dreams and disasters collide. It’s flour, fat, and water—three humble ingredients with the power to make or break your reputation at the table. Screw it up, and you’ve got something closer to drywall. Nail it, and you’re delivering buttery shards of flaky heaven that could make a grown man weep into his bourbon. There’s no middle ground—pie dough doesn’t forgive.
But here’s the secret: pie dough isn’t mystical, and it isn’t scary. With the right technique, a gentle touch, and a little cold butter, you’ll discover how therapeutic it can be. The process is tactile, grounding, and satisfying. Once you master it, you can spin out pies for every season, every mood, and every dinner party.
Pie Dough Basics: Ingredients
Think of pie dough like a simple equation: Flour+Fat+Water+Salt
- Flour: The structure. All-purpose works fine, pastry flour gives more tenderness.
- Fat: The soul. Butter for flavor, shortening or lard for tenderness. Many bakers use a blend.
- Water: The binder. Ice-cold, always. You want to bring it together, not melt the fat.
- Salt (and sometimes sugar): Flavor insurance. Don’t skip it.
Technique That Matters
1. Keep It Cold: Chill everything—bowls, butter, even the flour if your kitchen is warm.
2. Don’t Overwork: Gluten is the enemy of flake. Handle the dough like it’s fragile (because it is).
3. Visible Butter: Those little specks of fat are what puff and flake in the oven. You want to see them.
4. Rest It: Chill the dough before rolling. This relaxes gluten and firms the fat back up.
5. Roll Smart: From the center out, quarter turns, minimal pressure. Flour the board, but lightly.
Variations to Explore
- All-Butter Dough: Flavor powerhouse, perfect for fruit pies.
- Butter + Shortening: More forgiving, easier to roll.
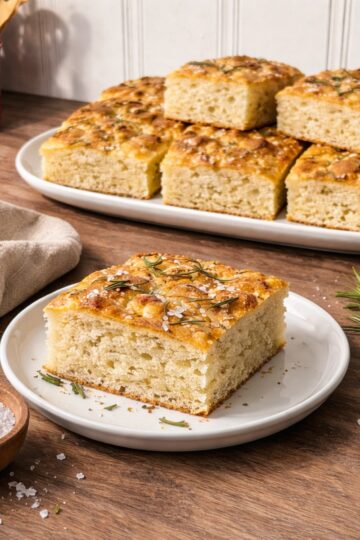
- Savory Dough: Add herbs, black pepper, or Parmesan for quiches and tarts.
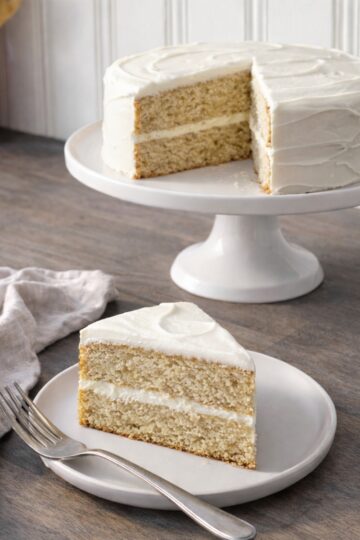
- Sweet Dough: A spoonful of sugar for desserts like pumpkin or pecan pie.
- Rough Puff Pastry: Add quater turns to create a flacky puff pastry like crumb
Troubleshooting Pie Dough
- Cracks when rolling: Too dry. Spritz with water.
- Shrinking crust: Overworked gluten. Chill longer before baking.
- Soggy bottom: Blind bake or brush with egg wash.
- Tough crust: Overworked, You manhandled it. Next time, hands off.
Storage Tips for Pie Dough
Flaky crusts start with smart storage. Here’s how to keep dough at its best:
- Short-Term (up to 3 days): Wrap tightly in plastic wrap and refrigerate. Let it warm for 5 minutes at room temp before rolling.
- Long-Term (up to 3 months): Freeze discs of dough double-wrapped in plastic and a freezer bag. Thaw overnight in the fridge.
- Rolled-Out Dough: Roll between two sheets of parchment, then freeze flat. Perfect for emergency pie nights.
- Pre-Baked Crusts: Cool completely, then wrap and freeze. Re-crisp in the oven before filling.
Recommended Tools (Affiliate Equipment List)
Pie dough is part craft, part combat sport. These tools make the fight fair:
- Pastry Blender – Old-school, reliable, and keeps your warm hands out of the butter.
- Bench Scraper – Essential for gathering dough and keeping your board clean.
- Marble Rolling Pin – Heavy, stays cool, and gives you better control.
- Silicone Baking Mat – Perfect for rolling and transferring dough without sticking. They also have rolling mats with size guidlines traced on the mat
- Glass or Ceramic Pie Dish – Promotes even browning and looks good on the table.
- Digital Kitchen Scale – Precision matters more than you think; measure by grams, not cups.
- Pastry Brush – For egg washes and blind-bake weights.
- Pie Weights or Dried Beans – Prevents puffing and shrinking during blind bakes.
- Cooling Rack – Because soggy bottoms are a crime.
To learn more we reccomend "The Book on Pie" by Erin Jeanne McDowell


Comments
No Comments